The Nomad’s Cup
Inverted aeropress recipe
What’s up guys? I’d like to share a quick aeropress recipe I got from Mirror Coffee Roasters in Bellingham, Washington. They are a great source of information for all things coffee. I’ve been listening to their Warmup Sessions podcast and decided to try out their aeropress recipe that won them a competition. It’s simple, quick, and my go-to when I’m on a work trip. It uses a 1:14 ratio (on the stronger side). Go for 1:16 if you’d like it a little weaker. You’ll need an aeropress, hot water, and a scale. Here we go:
Heat up water. I use my kettle to get the water to 201 deg F; but on the road, I heat up the water for 1:30 in a microwave or settle for whatever coffee brewer the hotel has without coffee to heat up the water.
Weigh your beans. For a standard size cup of 208g, I use 14.9g of coffee. On the road, I guess since I don’t bring my scale with me.
Grind coffee. I grind finer than drip. It’s a 7-8 on my grinder. I pre-grind and take it with me on work trips. Or, sometimes, I bring a hand grinder, but it’s massive. So until I get a smaller one, I pre-grind.
Pour 208g hot water into inverted aeropress (place plunger just inside the aeropress). This is difficult on the road. Sometimes I stop and get hot water from a restaurant and sometimes I get lucky and have a microwave in my hotel. I don’t drink airplane water, so if I don’t have water in a plane, I’ll be sans coffee.
Start timer and pour ground coffee into water and mix. I mix until all the coffee is saturated. Then I put the filter on and wait.
At 1:40, flip the aeropress right side up and resting on your mug of choice. Gently shake the aeropress from 1:40-1:50.
Plunge from 1:50-2:20 into mug. Rate should be so that it takes you roughly 30” to plunge completely.
And that’s it! It has saved me many times when I can’t find any good coffee while on the road/skies.
How do you roast coffee?
How do you do that?
When others find out I roast coffee, I often get questions about how I do it, how long it takes, and what machine I use. So I’ll try to demystify some of the behind the scenes action. First, I started off with a Behmor drum roaster. It’s a simple, electric machine that resembles a microwave or easy bake oven. It is a very basic machine. It taught me a lot about roasting, but it did not give me much control over many of the variables that go into roasting. I now use an Aillio Bullet. It’s also an electric machine, but it’s small enough to fit in my house and efficient enough to let me roast multiple batches back to back unlike my old Behmor. And, I can hook up my Aillio Bullet to my computer and monitor curves and make it look super scientific (it’s not!). But the graphs do give me some information about each roast and I am still learning how to read and use the data. There are many other types of machines out there that are much more expensive. Maybe one day I’ll upgrade to those; but, for now, my little machine will make do.
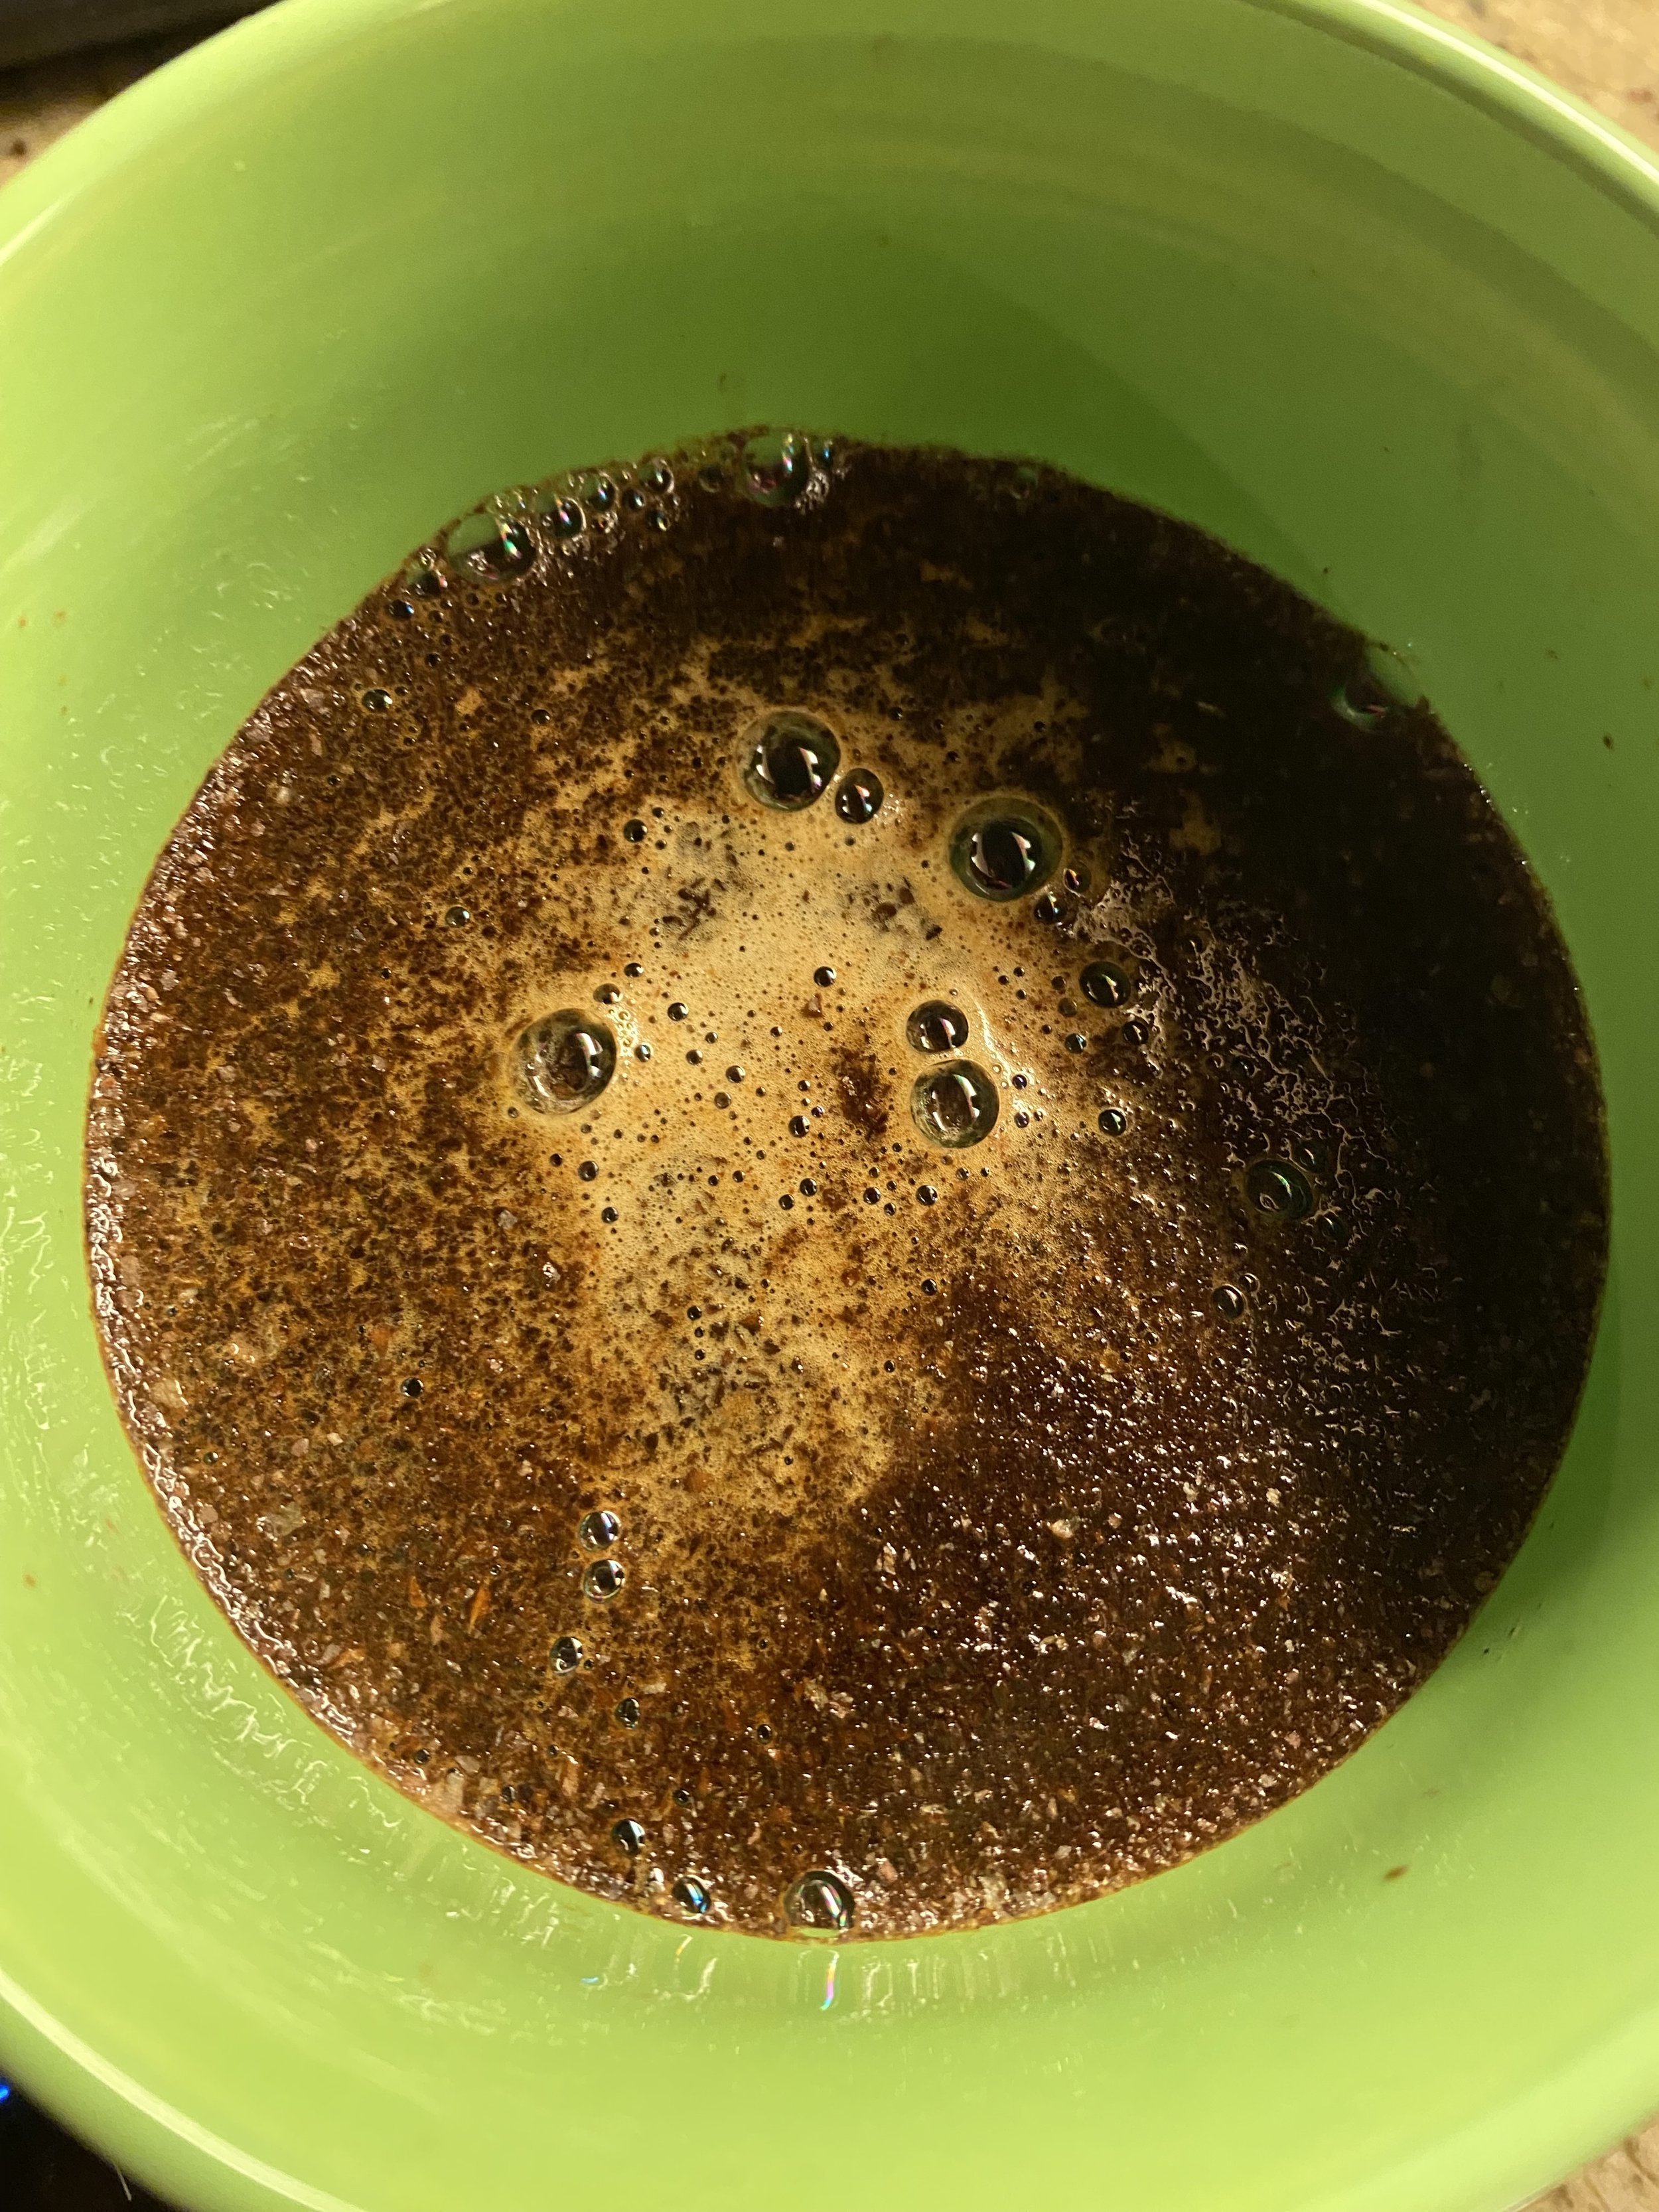
Cupping a coffee the day after roasting a washed Kenya coffee. Cupping is just a fancy word for testing/tasting.
As for how long it takes me to roast a batch, it depends. My average batch size is 1 lb or less. It takes me an average of 10 minutes for each pound of coffee. It often takes me longer to warm the machine up and even longer to cool it off, clean it, and shut it down.
Roasting is relatively simple. I am no professional and have never taken any classes on it. I intend to one day when I have more time. But, if anyone knows me, I tend to not sit still. Roasting coffee forces me to sit or stand with the machine and concentrate on each roast especially as it nears completion. I can’t look at any tech devices on hand and I must turn down any music I’m listening to as I roast so that I can hear the development of each roast. I find it relaxing. And, like flying airplanes, it makes my brain put aside the world’s problems and focus on something else 10 minutes at a time.
Like with brewing techniques, there are a million techniques to roasting along with a million variables I could change. And, everyone has a different preference on coffee. Some like dark, some like light roasts. They both have good and bad qualities. I prefer lighter roasts shooting for clarity and acidity (that’s a good thing in coffee) in flavor. That’ll go into another topic for another day. But I will roast to what we prefer in our house knowing some would probably prefer darker roasts.
My goal with this roasting business is literally what is on our home page. I enjoy roasting coffee, teaching others about it, and want others to share the joy it can bring. Each coffee roast is different and I probably over analyze each roast and find defects in each one. But in the end, it’s all about enjoying it first thing in the morning, with friends and family, or to help you get through the day.
Drip technique
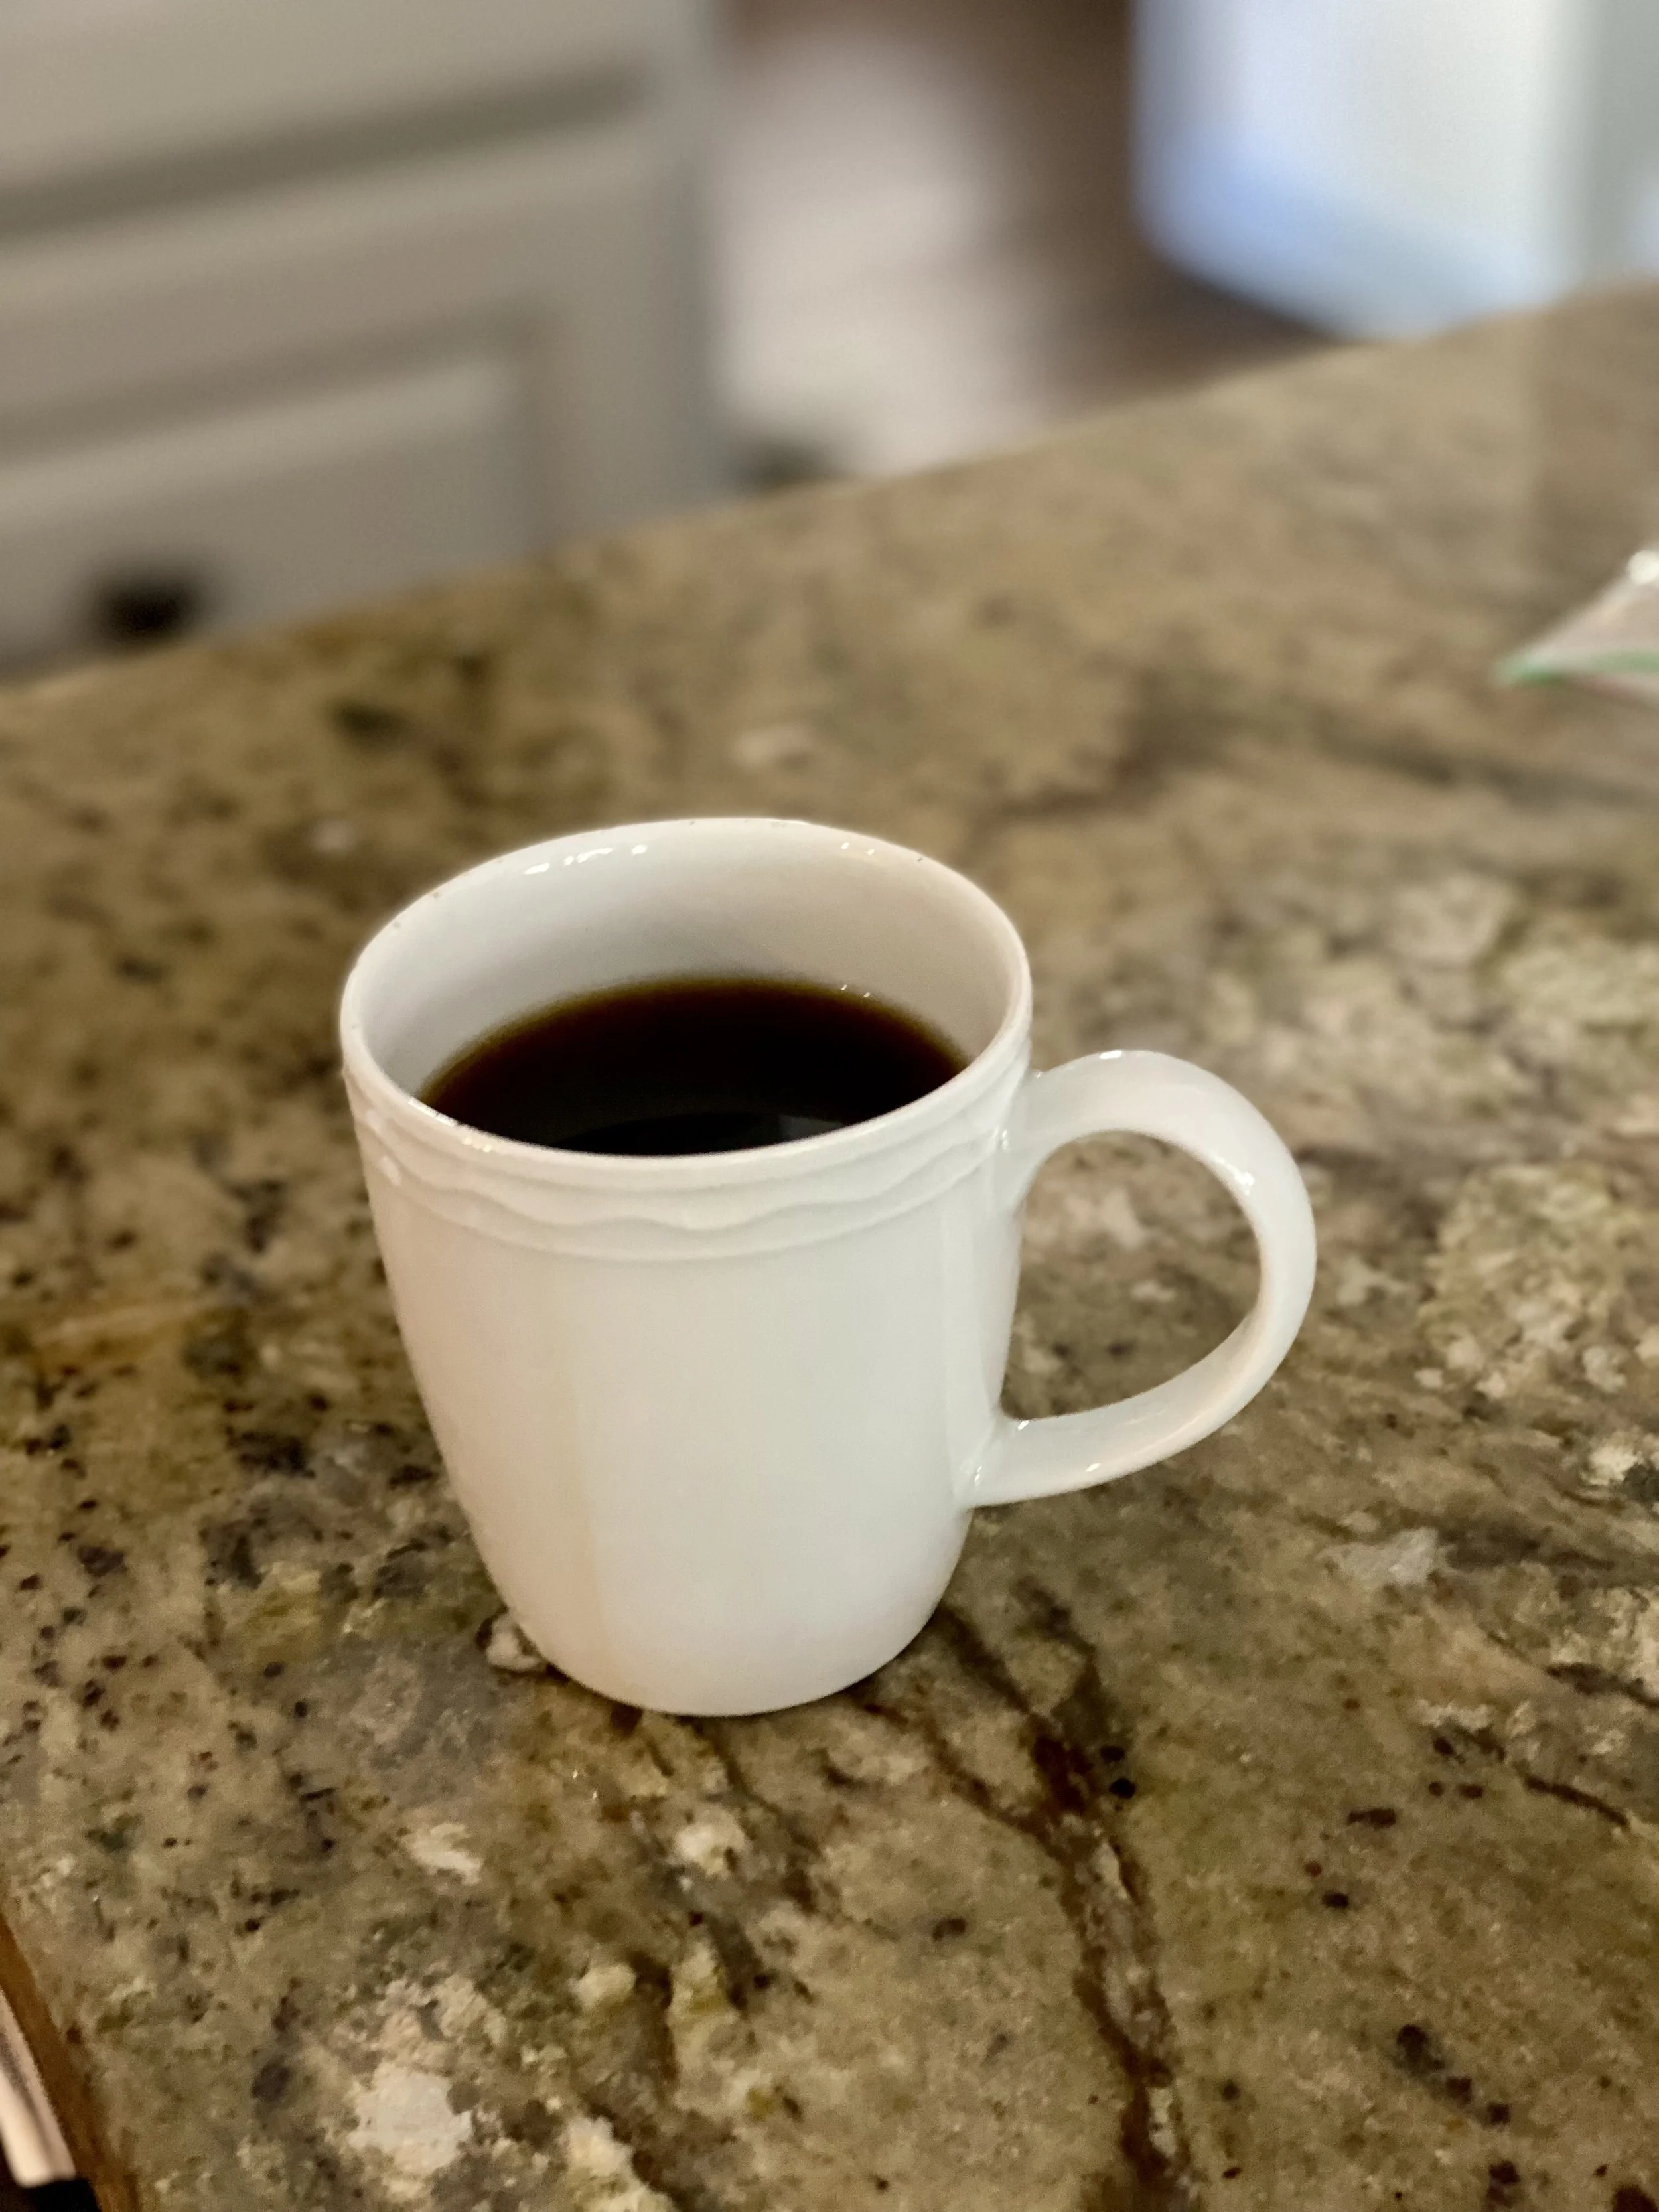
This is how we like to brew.
First, I’ll start off with my disclaimer that I am NOT a barista. I’ve never taken any classes and I have zero experience at any coffee shop. Do I intend on ever opening an actual coffee shop one day? Maybe, but that is “far rocks” as we like to call in the flying world. As for the “near rocks,” we are simply sticking to roasting coffee. I will also add that there are MANY variables to coffee from brew technique to how the coffee beans are processed after they are pulled from the tree. There are too many for me to try to make recommendations on. And, most of us cannot control many of those variables. So, we will attempt to keep it simple by focusing on just two variables…grind size and ratios.
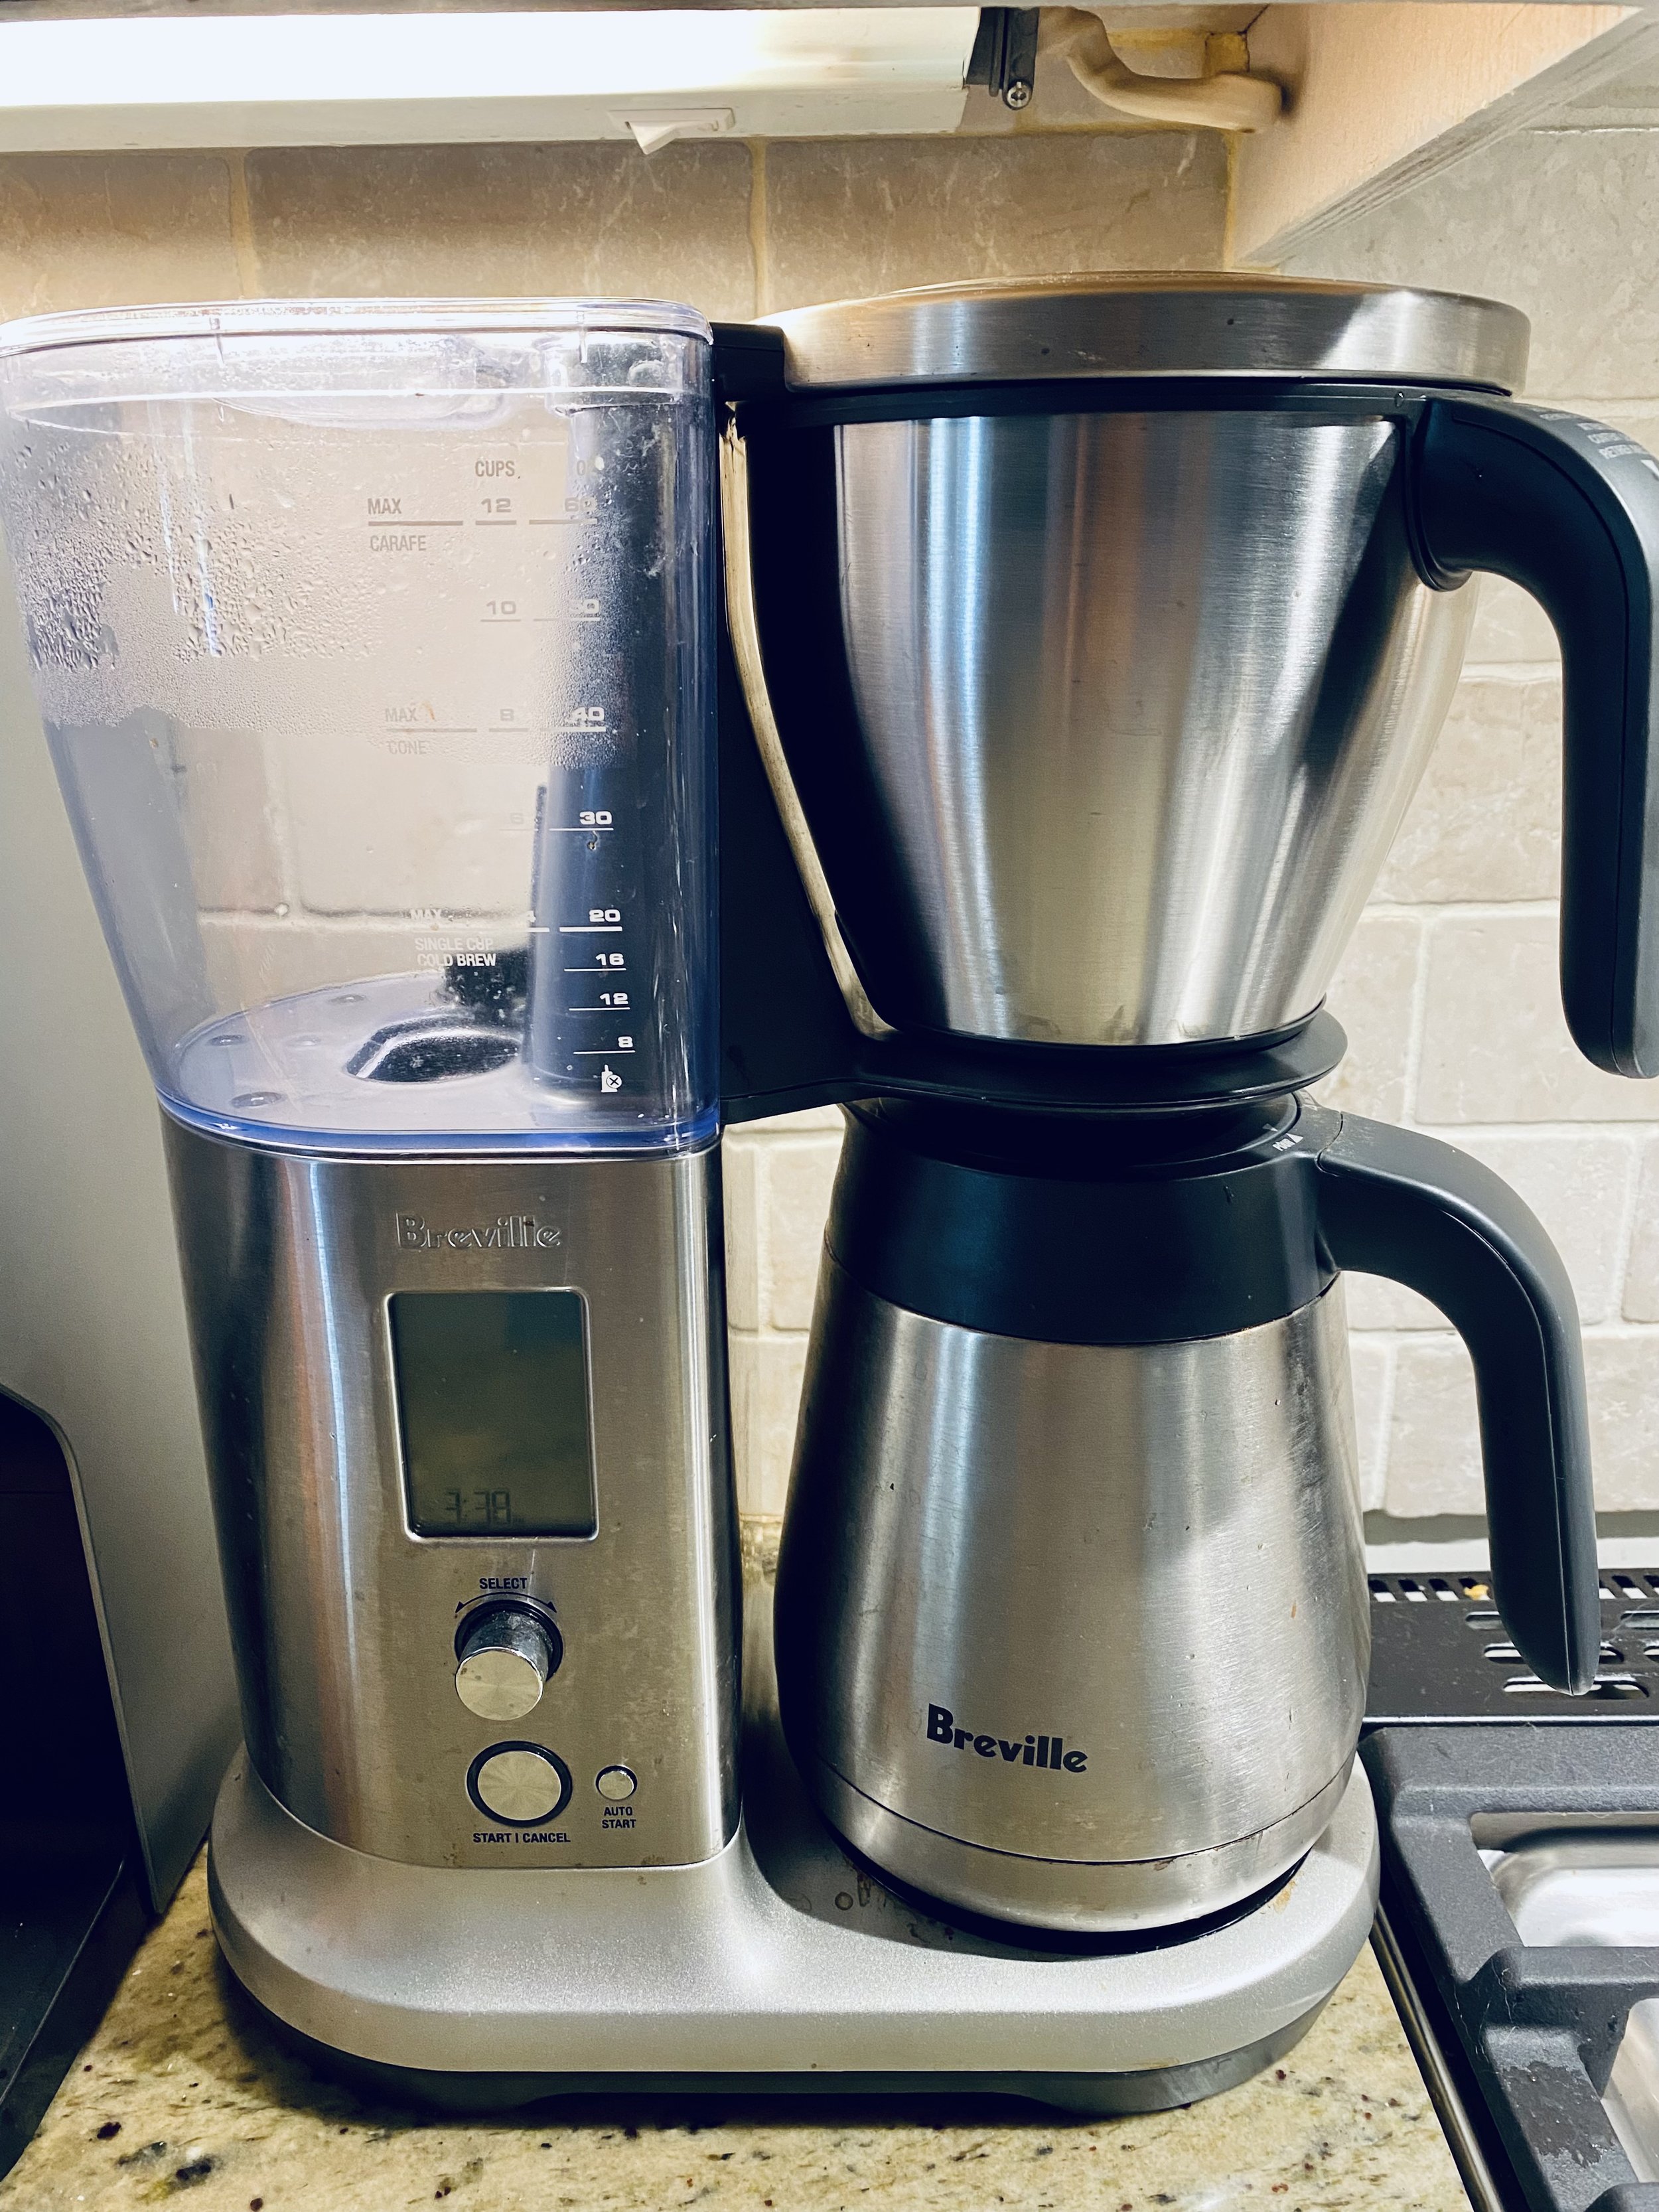
Our fancy drip coffee machine
Breville BCS450
Here are my cliffs notes:
Grind size: Medium course for drip coffee with a coarse salt like appearance
Ratio: 1:14 to 1:15. That is 1 gram of coffee to 14mL of water
If you’re interested in getting into the weeds, keep reading.
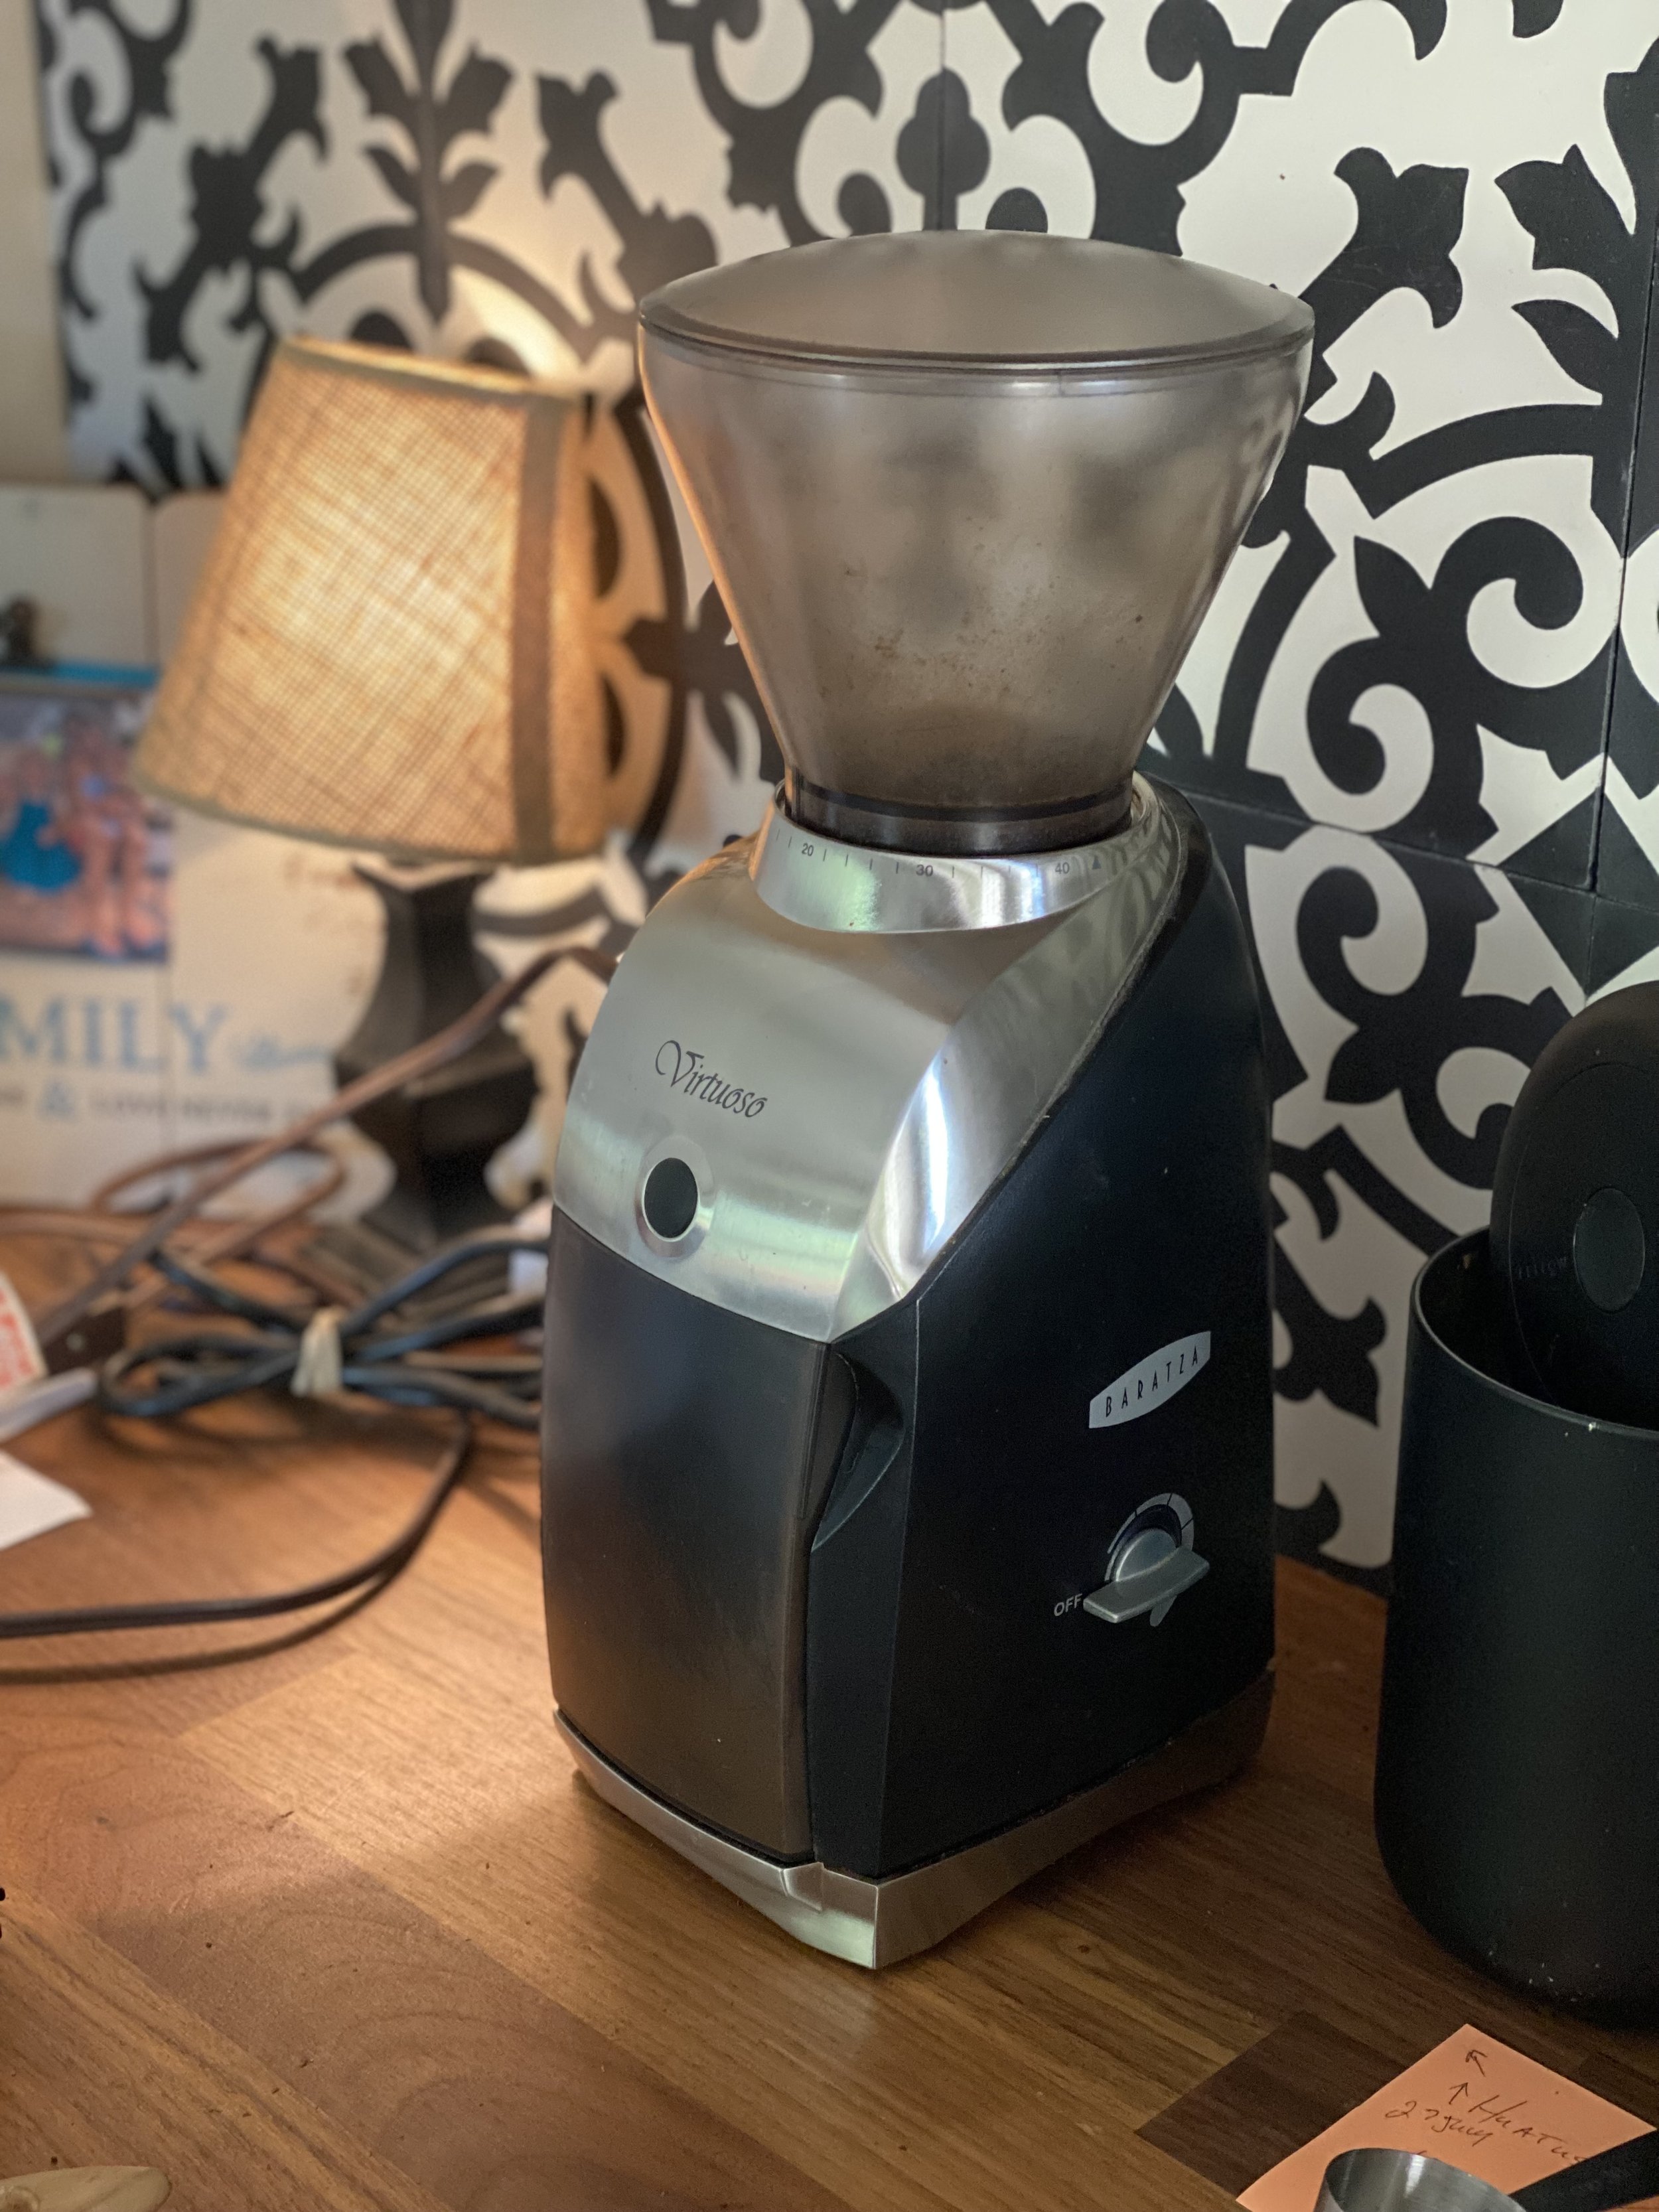
So, we use a Breville BCS450 drip coffee maker. It is fancy and can probably do a lot more than we use it for. But, we solely use it for our drip coffee in the morning. I should also add that we use a Baratza Virtuoso Model 586 conical burr grinder. Both accessories are not cheap, but you don’t need to go all out and go super fancy to enjoy great coffee. I often use a cheap, small hand grinder if I take coffee on work trips along with my aero press. The burr grinder lets me really try to hone in on the right grind size depending on my brewing technique. Oh, we also have scale with a timer that I bought for about $20. We use those scales so much now at my home, that we bought two more! We keep our things running smoothly by cleaning them out on an interval. The machine is cleaned when it tells us and I clean the grinder every time I roast coffee. I should probably clean it every time before grinding another type of origin to avoid mixing them (I am not a fan of blends…topic for another post maybe).
Baratza Virtuoso Model 586
Our conical burr grinder
So, what is the trick to a good cup of coffee? In my opinion it’s the grind size of the coffee and coffee to water ratio among many other things that most people can’t control. I set our burr grinder to 17 for our drip coffee and only ever change it if I elect to brew a pour over. I’ll make a post about my favorite pour over contraption and technique some other time.
Regarding grind size, I strive for a course salt type of appearance. I had to mess with our grind settings till I found the # we were happy with. That just happen to be #17 for us. What happens if you grind too fine? Water will not pass through the coffee fast enough. Hence, “overextraction.” All that means is that the coffee will likely taste fairly bitter and not have much flavor to it. If you grind too course, the water will pass through too quickly making it underextracted and leave your coffee “weak.” Again, medium course (aka looks like course salt) is what works for us.
So what ratio do we recommend? My wife used to use scoops as her unit of measure. I’ve since gotten her away from scoops. Scoops=confusion. There really is no correct ratio to use. It only drives how strong a cup of coffee is. If you find yourself with a delicious cup of coffee, but you’re left feeling like you still haven’t woken up yet, you probably need to change your ratio. If you find your coffee doesn’t taste like it is described, then you likely need to change your extraction by changing your grind size. See the previous paragraph.
I’ve heard to use 60g of coffee per liter of water and I’ve heard to use a 1:14 to 1:16 ratio. They’re all about the same, but my go to is 1:14 to 1:16, which just means 1 gram of coffee per 14-16 mL of water.
I know, nobody wants to do math first thing in the morning. So, I weighed how much water goes into my drip machine and divided that by 15. I measured my water to be 1144mL on my cheap scale for a full pot of coffee and, therefore, use 76.3g of coffee (1144/15=76.3). But, now all I need to do is weigh my coffee in the morning after writing 76.3g on a sticky note by my grinder and scale. I even converted that to approximately 5.5 scoops for my wife as I roll my eyes when she chooses to use the scoop. I wake up before her normally to make sure it’s done right and have hidden the scoop at times too.
One last thing, I grind my coffee just prior to brewing. But, sometimes I have to wake up at 4 am or even earlier for my main job and I do NOT want to be weighing coffee and brewing it at that time of day. That is when I weigh, grind, and set the timer on our Breville drip coffee machine so it is ready when I wake up. Don’t tell anyone I do that. Pro baristas would likely give me 0 out of 5 stars for admitting that.
I promise not to unfriend you if you are scoop person. If it works for you, stick with it! Maybe you unknowingly shacked the ratios and should probably go buy a lottery ticket! Good luck and I promise to do my part with our coffee by honing in on the variables I can control through the sourcing and roasting process.
Welcome!
Along with our disclaimer.
Hi! This is our first post here. We’ll be posting ways we brew coffee in our house. We are not professional baristas and not a single person in my house has ever worked in a coffee shop. We intend on slowly adding tips and techniques that have worked for us with our coffees.


